Creative DIY Valentine’s Day Cards For Kids
Disclosure: This post may contain affiliate links, meaning I may get a small commission if you decide to make a purchase through my links, at no cost to you.

Valentine’s Day is a special occasion that celebrates love and affection. While store-bought cards are always an option, making your own DIY Valentine’s Day cards adds a personal touch that is sure to make the recipient smile.
With a little creativity and some simple materials, kids can make unique and special Valentine’s Day cards for their friends and loved ones. From pop-up cards to fingerprint art, there are many fun and creative ways to show someone you care.
In this article, we will explore some of the best DIY Valentine’s Day cards that kids will love making and giving. So, gather some construction paper, markers, stickers, and other supplies, and let’s get started!
Materials Needed for Heart Balloon DIY Valentine’s Day Cards Ideas for Kids:
Materials needed:
- Heavy Cardstock
- Decorative paper or scrapbook paper
- Washi Tape
- Scissors
- Ruler
- Pencil
- Glue or double-sided tape
- Decorative elements (stickers, ribbon, glitter, etc.)
Step 1: Gather Supplies for DIY Valentine’s Card for Kids
Gathering supplies for making DIY Valentine’s Day cards is simple and fun. You’ll need a few basic materials, including construction paper or cardstock, markers, stickers, glue, and any other decorative elements you’d like to use.
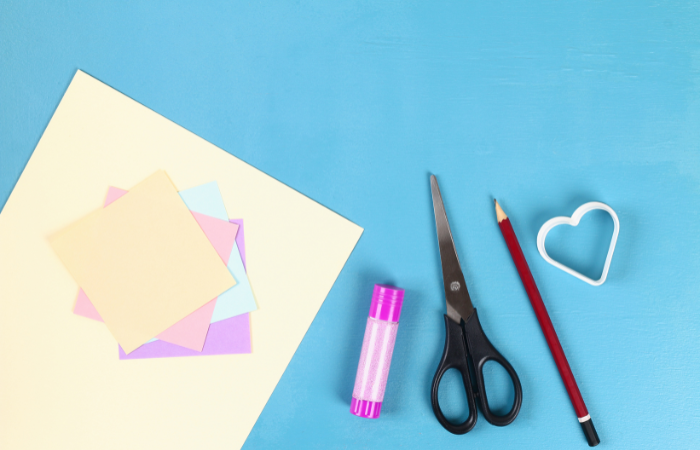
You can also add fun extras like glitter, sequins, and foam shapes.
When choosing your design and supplies, consider the age and abilities of the kids who will be making the cards. Younger children may need help cutting and gluing, while older kids may enjoy trying out more advanced techniques, such as pop-up cards or watercolor paintings.
You can find all of the supplies you need at your local arts and crafts store or online. The key is to have a variety of supplies on hand so that the kids can be creative and have fun while making their Valentine’s Day cards.
Step 2: Decide on Your Design for the DIY Valentine’s Day Cards for Kids
Designing a DIY Valentine’s Day card for kids can be a fun and creative process. There are many different design ideas to choose from, so let your imagination run wild!
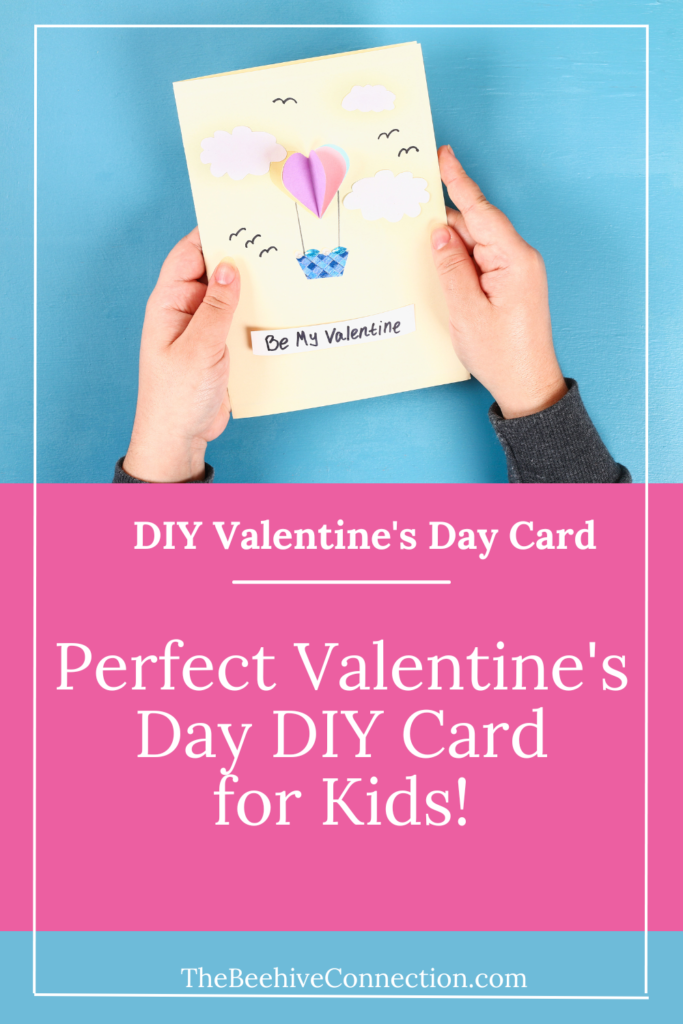
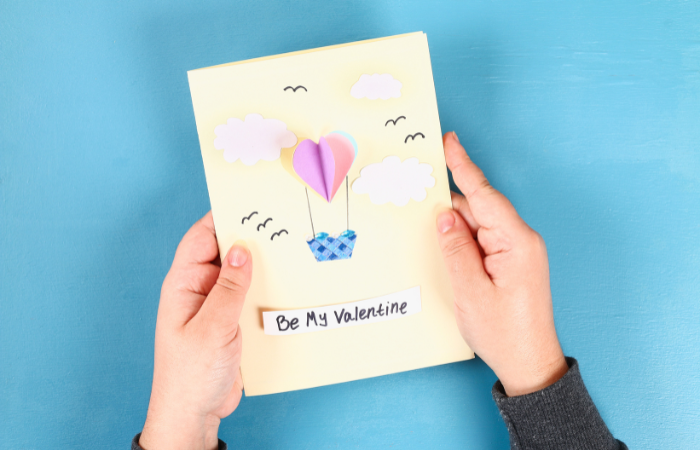
In this particular article, we will be making the Heart Balloon DIY Valentine’s Day Cards.
Here are a few other popular ideas to get you started:
- Finger-print art: Kids can use their fingers to make hearts, flowers, or other designs on their cards. Simply dip their fingers in paint and make their mark!
- Pop-up cards: Add an extra special touch to your card by creating a pop-up design. This can be a simple heart or flower that pops up when the card is opened, or a more elaborate scene.
- Sticker collage: Kids can create a collage of stickers on their card to create a unique and fun design.
- Hand-drawn illustrations: Encourage kids to use their creativity and draw their own illustrations on their cards.
- Personalized messages: Have kids write a special message to the recipient on the inside of the card.
With so many design ideas to choose from, the possibilities are endless. Encourage kids to be creative and have fun while making their Valentine’s Day cards!
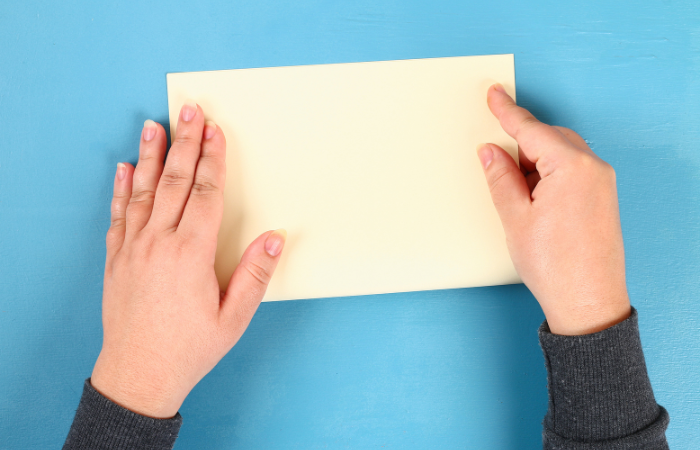
Step 3: Create the Card
Decide on the size and shape of the card. Is it going to be a square card, heart-shaped, round, or rectangular? Any shape will be great. In our Heart Balloon Valentine’s Day Card, we kept it simple by taking an 8.5 inch by 11 Inch colored paper and folding it in half.
Step 4: Cut Out Elements for the Front Cover of the DIY Valentine’s Day Card
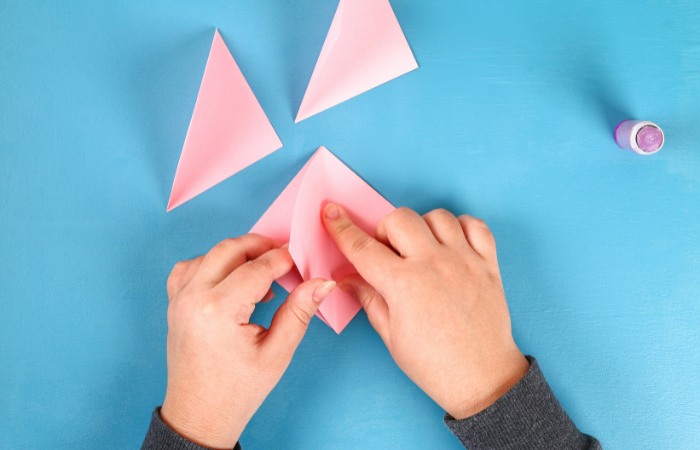
In the Heart Balloon Valentine’s Day Card, you will want to cut out 4 hearts to create the balloon.
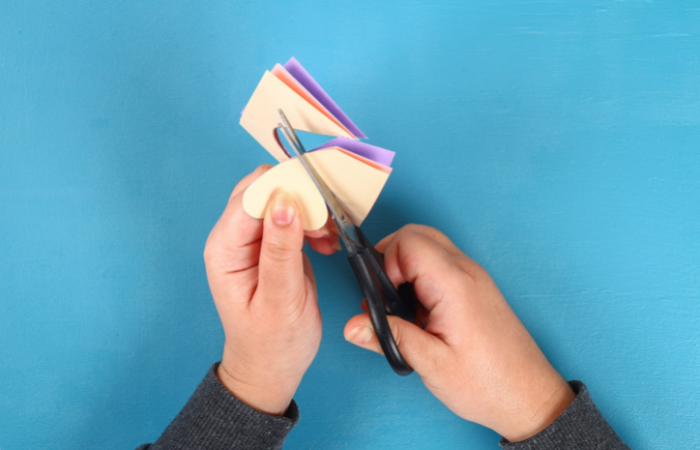
Depending on the size of your card, cut out 4 hearts from decorative or scrapbook paper.
We cut our hearts at about 2 inches in diameter. Fold each heart in half the so they are symmetrical.
Step 4: Glue Hearts Together
Use a glue stick to glue the hearts together
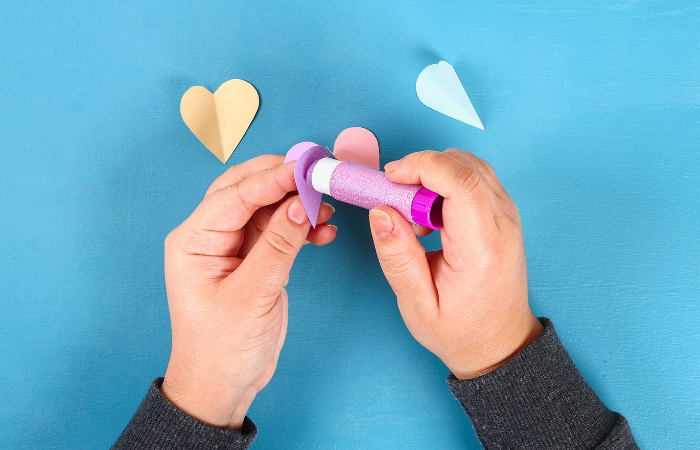
Glue one half of each heart to the other half of the next heart creating a half circle with the 4 hearts. Sort of like a fan.
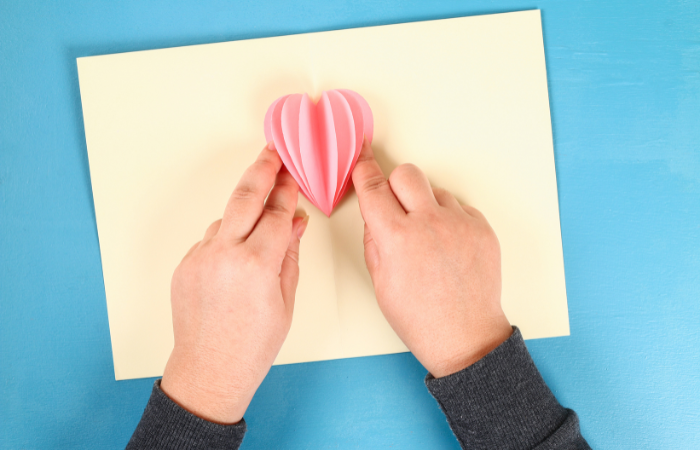
Step 5: Glue Hearts To the Card
Use a glue stick and dab glue where you would like your heart balloon to go.
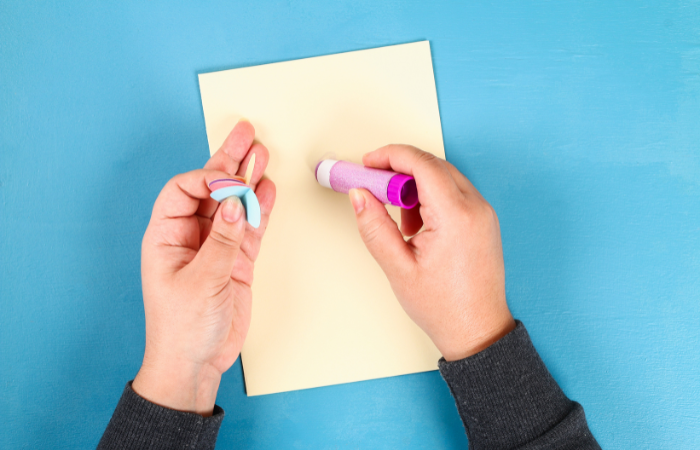
You can glue yours directly on the center or a little higher on the page.
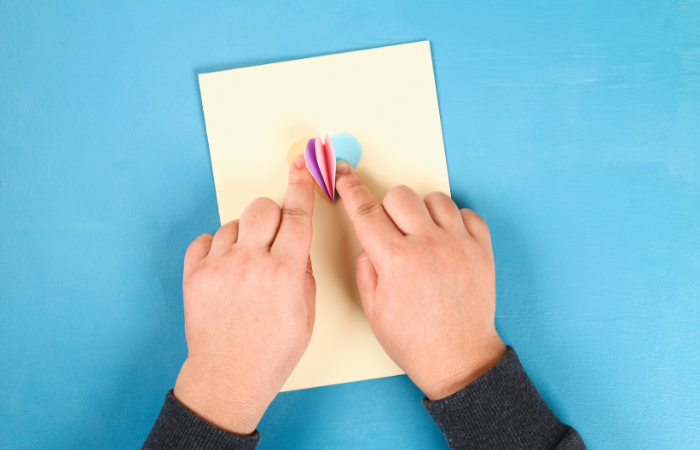
Then put a dab of glue on the halves of the heart that are opened (not glued to the other hearts), and place them on the dab of glue on the card where you want the balloon to go.
Step 6: Design and Place the Basket
Decide what materials you want to use to make your basket. You can use cardstock, scrapbook paper or washi tape.
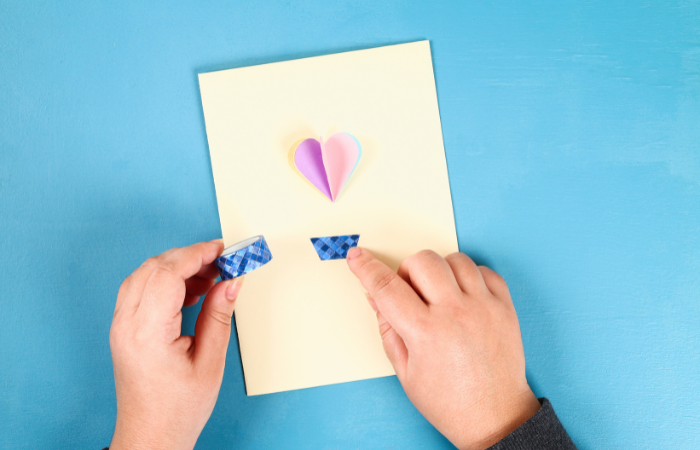
We used washi tape for our balloon. We cut our basket into a quadrilateral shape about 1 1/2 inches wide and placed it approximately 1 1/2 inchs from the balloon. Of course, you can make the basket as big or as small as you would like.
Step 7: Draw the Rope
You can use any drawing utensil to create the rope.
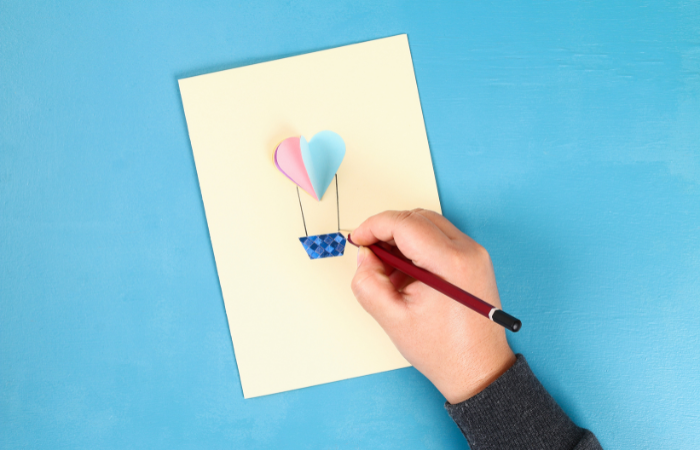
For our rope, we used a black colored pencil and drew to lines from the heart balloon to the washi tape basket.
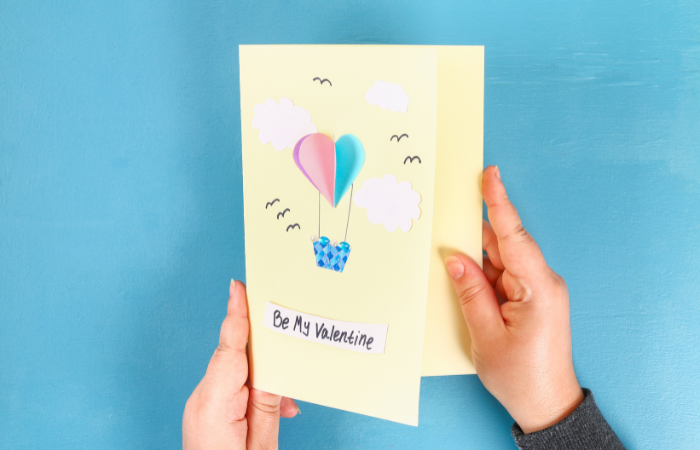
Step 8: Add Elements to Your Card
Add clouds, birds, people, or other objects to your card. Be creative and make it fun!
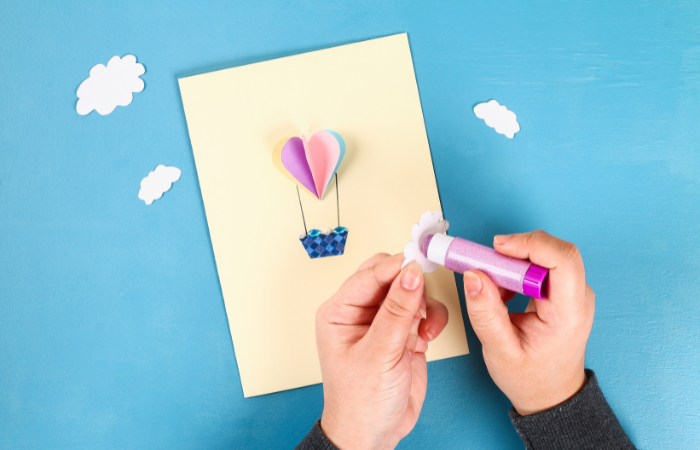
We cut out cloud shaped paper, and glued it around our basket and flower stickers inside the basket.
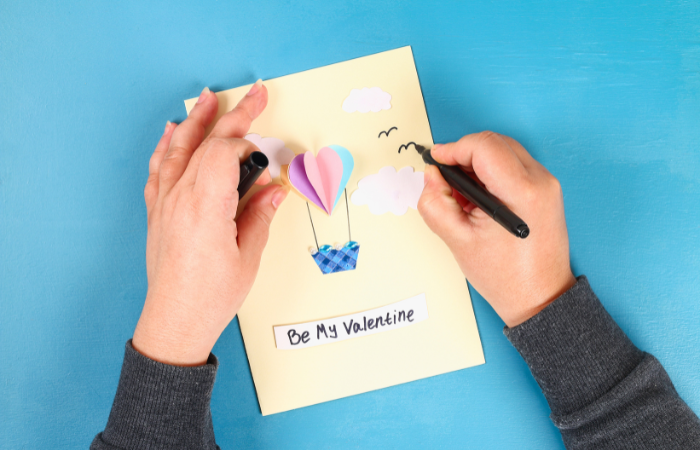
We added a Be My Valentine banner and drew birds with a black marker.
TaDa! Now that the outside of the card is finished, you can start decorating the inside of the card. Here is how we decorated the inside of the card.
Step 9: Cut out Hearts for a Pop-Up Card
Create square pieces of paper about 3 inches by 3 inches and fold them diagonally to easily cut out hearts.
We cut out 6 hearts from these square papers.
Step 10: Glue Hearts Together
glue half of one heart to half of another heart as you did in Step 4 above.

Fan the glued hearts out like in the above photo.
Related:
Step 11: Glue the Hearts to the center of the inside of the card.
Dab glue to the fold of the inside of the card.
Be sure to glue the card directly onto the fold so that the heart doesn’t get disfigured when opening and closing the card.
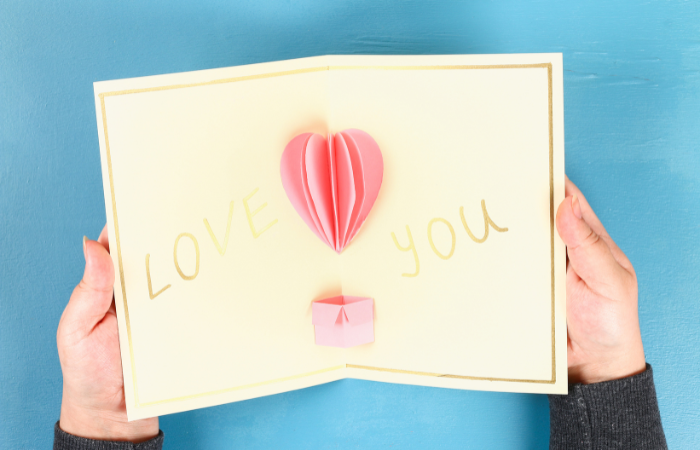
Step 11: Draw a Pretty Border
Decide how close you want the border of the inside of the card to be.
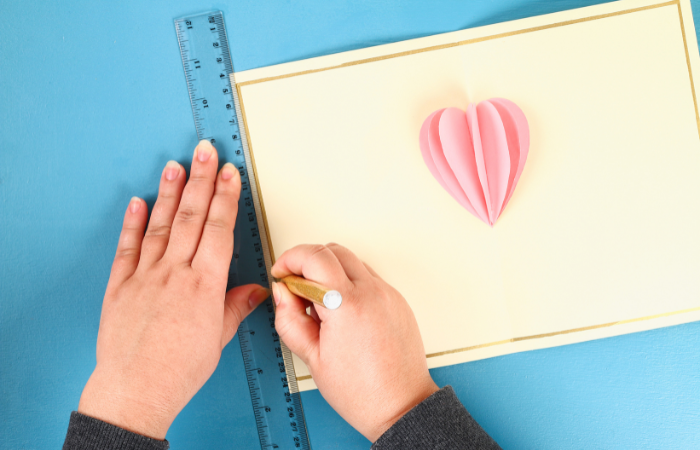
We chose a 1/2 inch border for the inside of our card. Get a ruler and trace a border along the edge of the card. We used a gold marker to create our boarderl.
Step 12: Create a Basket
Because this card will be opened and closed often, instead of washi tape for our basket, we decided to use pink paper. you can use any color or pattern paper.
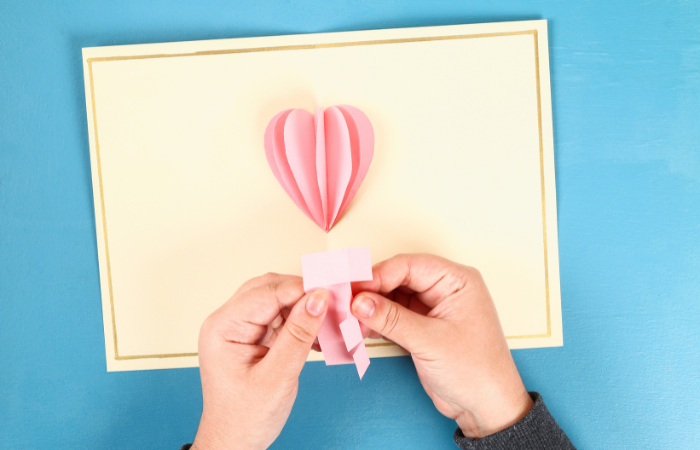
Cut out a piece of paper approximately 1 1/2 inches by 4 inches. fold the paper in 5 equal parts. Then cut half way down the paper on the fold. The fold each section down like the above image.
Step 13: Glue the Basket on the Fold
Create a square overlapping 2 parts of the paper. Wala! There is your basket
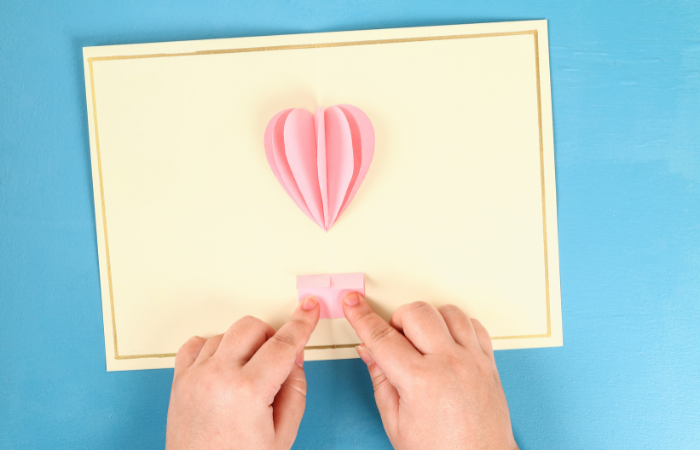
Glue the fold of the basket, to the fold of the card as seen in the image above.
Step 14: Add Elements and a Message
Attach stickers or other elements to decorate the inside of the card.

We used a gold marker to say “LOVE YOU”
Step 15: Test it Out!
Open and close the card to make sure all elements line up.
You may need to adjust some elements if it doesn’t quite line up perfectly.
Making DIY Valentine’s Day cards is a fun and creative activity that kids of all ages can enjoy. By gathering a few simple supplies, such as construction paper, markers, stickers, and other decorative elements, kids can create unique and meaningful cards that they can be proud of.
Related:
Game Night Ideas for the Family
Movie Night Ideas for Family and Friends
With so many design ideas to choose from, including finger-print art, pop-up cards, sticker collages, hand-drawn illustrations, and personalized messages, the possibilities for creativity are endless.
Making Valentine’s Day cards is also a great opportunity for kids to express their love and affection for friends and family members, making it a special and memorable activity for everyone involved. So why not gather the kids and get started on making your own DIY Valentine’s Day cards today!